Table of Contents
DIY For Covering Breaker Boxes
When we converted the previous laundry room off of the kitchen into a walk-in pantry and subsequently moved the laundry out into the garage, I knew that one day we’d need to (or at least REALLY want to) makeover the space. For us, that meant finding ways to hide the ugly utilities that seemed to fill the space, since we didn’t want it to look like a conversion, but more a true extension of the house.
One of the challenges with hiding a utility box, or in our case, two of them, that sit a couple of inches off of the wall (not flush) as well as plenty of wiring, is that we still need easy access.
We spent some time researching what we could do and found most solutions for covering breaker boxes were to use a curtain or hang some king of art over top, neither of which would work in our case.
After going back to the drawing board and tossing around a few ideas, we decided to create our own DIY faux cabinet to create the look of the shaker cabinets we installed in our kitchen renovation. Finding cabinets that were large enough to cover so much wall space was proving to be both too difficult and too expensive, so going the DIY route was the perfect option. It just took a little time figuring out what we needed to do.
Though I do call these faux cabinets, because it only comes off of the wall and into the room about 4 inches, and is covering the breaker boxes, there is still a shelf inside that I can use to hold a few items that I don’t want out in the laundry room space, so in a sense, this is a DIY cabinet!

Materials for a Faux Cabinet Utility Cover
4 x 8 – birch plywood
2 x 4’s – for building the frame
2 X 3‘s – for creating the shaker cabinet style
Wood glue
Wood screws
Drill
Brad nailer
Chop Saw
Table Saw
Wood filler
Caulk
Paint
Mini Paint Roller
Hinges
Tapcon concrete anchors – if attaching to cement or block wall
Shiplap – or other material (drywall or birch plywood) to cover the surrounding area of the cabinet
The How-To – Covering Breaker Boxes with Faux Cabinets
*Please keep in mind these are custom measurements to fit our electrical panels which is why you won’t find actual dimensions in this tutorial. Yours will be built to cover your specific utility box(es).
The very first thing to start with is building a frame built to hang directly to the wall (ours was a block wall as it’s the exterior wall in the garage). Since ours also needed to hold cabinet doors that are more than twice the normal kitchen cabinet door size, we built the frame using 2×4’s to make this stronger. You could even use 2×3’s to frame your cabinet if you’ve got a smaller area to cover.


Measure the full area that you need to cover, as you’ll want to build the frame to this size, taking into account the boxes and the wiring that will need to be covered. Make sure to measure to allow the actual size of the wood frame to fall around the outside of the utility boxes (because the breaker boxes will need to be able to open still!).
Once you have your measurements, cut the 2X4’s to size and built the frame ahead of time before attaching the whole thing to the wall, using wood screws to secure the frame together and Tapcon concrete anchors to attach to the concrete wall. We started with the outside frame and added in cross pieces for added strength as well as a vertical center which is where the new cabinet doors will close.
Now it’s time to skirt the outside of the frame with wood. We chose to use the plywood which is easy to cut to fit. You’ll notice it on the bottom and side of the new faux cabinet in the above photos.


Next, it’s time to make the cabinet doors. We choose to use birch plywood which has a finer, smooth finish.
In most cases, you can have your local hardware store cut the doors you want to a specific size. So take your measurements into Lowe’s and let them cut the plywood down for you to save you a step at home.
Once you have the cabinet door fronts cut to size, it’s time to cut the pieces that will be placed on the front of the cabinet. We decided to rip (cut a long cut down the short edge) a 2 x 3 whitewood stud to create a raised cabinet trim look. Using the full 2″ thick piece gave a look that was too deep, though 3″ wide was perfect. So we cut that 2″ portion (which is really 1.5″) in half. If the idea of ripping down a stud doesn’t work for you, this can also be done with an MDF board. Cut 8 strips that are 3″ in width using a circular saw or a table saw.
Measure the full length and use a mitered cut (45-degree angle cut at the ends) to finish the trim for the front of the cabinets.
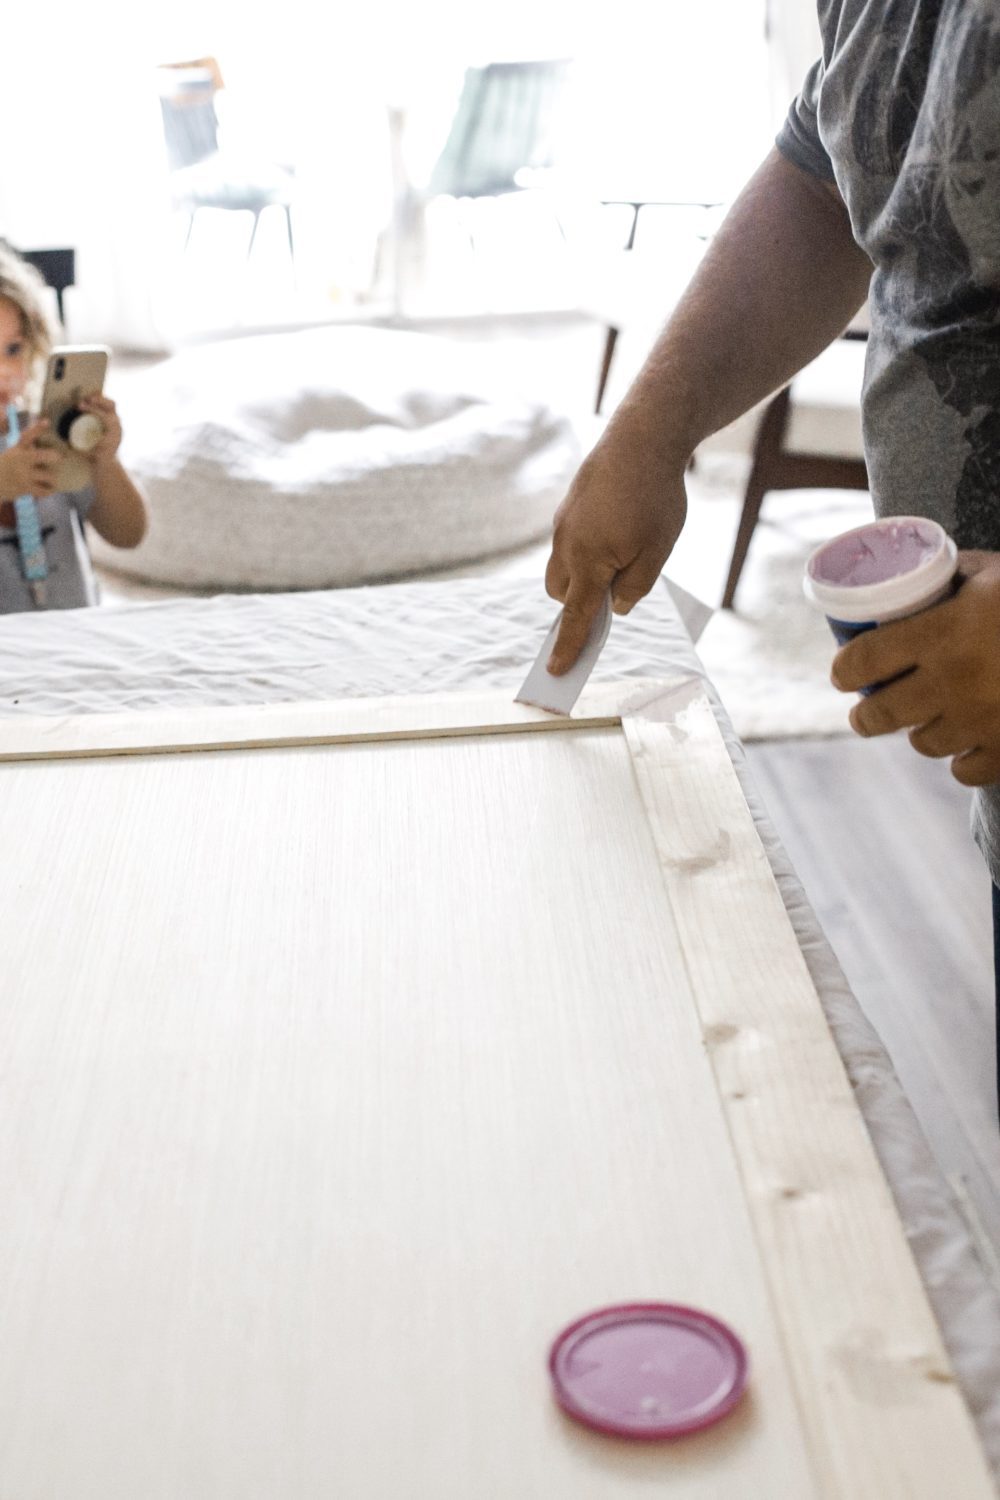
Attach those pieces to the front of the cabinet with wood glue and a finish or brad nailer.

 Ps. Couldn’t get over that cute little photo helper in the above photo!
Fill the nail holes in with caulk or wood filler, and let dry.
Once the wood filler is dry, use a sanding block to sand all the areas down where you applied the filler.
You also might want to caulk the interior of the 3″ boards for a seamless finish.


Now you are ready to paint. We opted to use a mini microfiber roller to create a smooth finish that was easy to handle.

Our faux shaker cabinet doors we much larger than normal. So we decided to use three hinges for each one to be sure not to have any sagging. And since we’re finishing our family-friendly laundry room off with some black accents, I ordered these black iron cabinet pulls from Lowe’s and am loving how these 12″ pulls look on our oversize shaker style cabinet fronts!

To finish off the outside of the cabinets, we opted to continue the shiplap that we’ve been installing in the laundry room to truly give it a built-in look. If you don’t have shiplap in the room, you could finish off the outside of the cabinets with drywall sheets to match your walls; or even more of the birch plywood. Either way, the process is similar… fill in the space, fill the nail holes and paint! The shiplap took us a little longer, just because we wanted it to align and match with the shiplap on the adjacent wall, meaning we did have to cut small 1″ pieces to fit on the sides of the cabinet.
The end result was SO worth it though!
Click here to see all of our Family Friendly Laundry Room Ideas + Design Plans for the full laundry room makeover

1 / 2 / 3 / 4 / 5 / 6 / 7 / 8 / 9 / 10 / 11 / 12 / 13 / 14 / 15 / 16 / 17
What I’m really excited to hook up in this soon-to-be-completely-renovated space is the LG New Top Load 7300 Series that will make it easier to do laundry for our large family! The top-load washer (something I definitely wanted) provides a quieter, faster wash with TurboWashTM 3D technology and five variable jets. With the large 5.0 cu ft capacity, we’ll be able to fit a comforter and full set of king size bedding in one single load. Plus I can access key LG washer features from anywhere using SmartThinQTM technology (yep, it has wifi!). And with the dryer, we can load and unload the way we want to with the dual-opening options of the LG EasyLoadTM dryer door.
What do you think of this DIY for covering breaker boxes? Share in a comment below!
Stick around for more DIY tutorials coming up (like how to hide utilities like a water heater or air handler and how to stencil paint a cement floor!). Plus the full reveal once we get these projects all tackled!!
Will you be building a faux cabinet for covering your breaker boxes? I’d love to see how it turns out! Make sure to share and tag us on social @TabithaBlue, and we’ll share it too. Happy covering!


Move Car says
Thanks for sharing such great information.
Kathi says
WOW! What a lovely difference! Very nice for you guys. Thanks for all the tips. Saving this info for later.
Kathi says
Forgot to ask, is the ceiling light from @Lowes too?
Grishma Shah says
Wow it’s great and useful information
Pooja says
AS You Provide All The Information is Very Good But I want To Know About If we have a Front Load LG Machine Than we can Build a Covering Box For It Like Yours.
LogisticAdda says
Thanks for sharing such great information