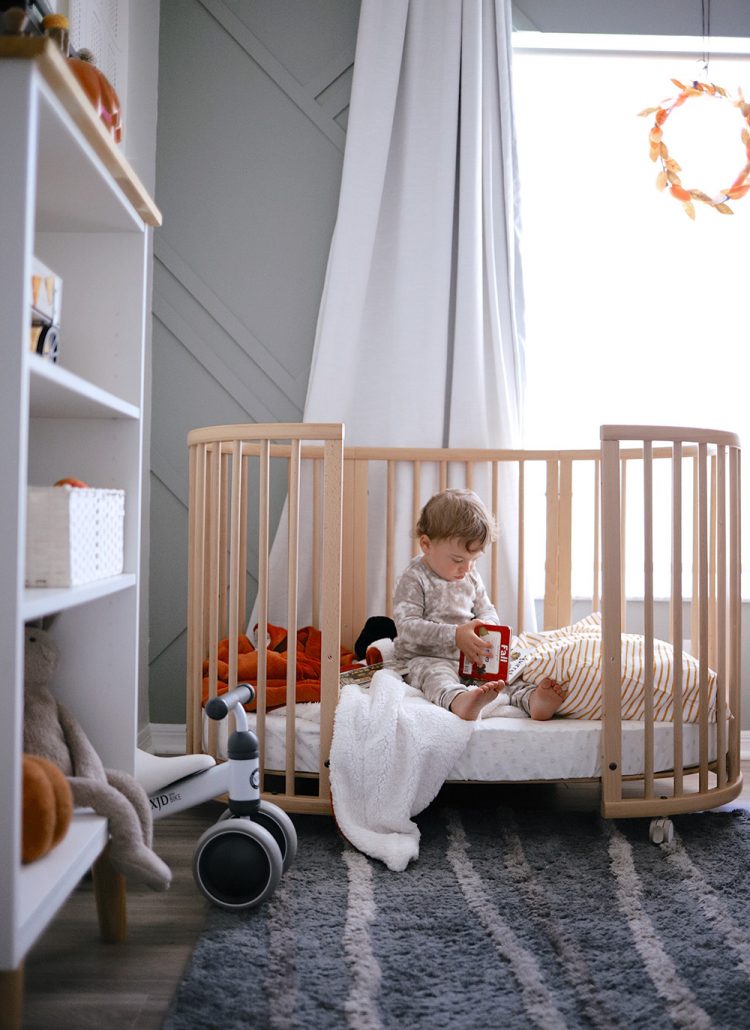
This is such a simple way to upcycle cheap bookcase, or really, any flat-pack bookcases. Adding mid-century legs, a smooth wooden top, and filling all of those shelf-pin holes makes for an easy, inexpensive update that makes a huge impact with a small amount of work. Keep reading for the best way to fill bookcase holes and upcycle a cheap bookcase.

I’ve been working on updating the twins’ room and this simple flat-pack cheap bookcase was the one part that was bothering me. The bookcase needed some work, especially next to our updated builder-grade bifold closet doors and their gorgeous cribs and wood accent feature wall.
One day when we really needed a bookcase to house the twins toys –– and a few books –– we picked up a flat pack, build-it-yourself bookcase to get it done quickly. But it just never looked great to me.
The size seemed small in the room, it was lacking in style and didn’t fill the space.
To make look much more impactful in the room, and much more expensive, we added , replaced the back with beadboard, and added a wooden top, along with filling the bookcase holes.
Most of our little one’s toy shelves are filled with Lovevery! We are huge fans of their sustainable, educational toys developed by professionals for each stage! We wanted to share our love of Lovevery with you and have a link here for FREE shipping!


Table of Contents
How to Upcycle a Cheap Bookcase with Legs
One of the largest upgrades to this bookcase has to be the addition of sturdy mid-centry style legs. It’s add’s height to the shelves, making them more pronounced and stylish in the room.
The bottom of our cheap bookcase, however, wasn’t flat. Thankfully, we had some white board in our garage that was leftover from a project and it fit the bill perfectly!

If you notice in the photo where the natural wood is and the white wood along the bottom of the bookcase? Those are both scraps of wood from our garage to make the entire bookcase bottom flat. Originally the sides of the bookcase extended about 1/4 of an inch below the bottom shelf.
With the addition of the 1/4 inch scraps of wood to fill-in the bottom, we were able to create an even surface to attach the legs.
We then screwed in for the additional height and style! I LOVE the way it turned out.

How to Replace Bookcase Backing for a Book Shelf Upcyle
One of the first things that give away a cheap bookcase – or in some cases, one of the first things to become damaged – is the cheap backing. It’s usually made up of thin pressed board and can easily crease, crack and break.
We simply pulled this backing off of the bookcase, cut a piece of bead board to fit and tacked it back on with finish nails.

How to Fill Holes in Bookcases
The great thing about simple, flat-pack bookcases is that they are usually simple to put together, not too expensive and have adjustable shelving.
The adjustable shelves are great for fitting whatever you need. The caveat? The holes left in the sides of the bookcase tend to cheapen the overall look of the bookcase.
Thankfully there’s an easy fix and a simple way to fill holes in a bookcase!
Basic spackling does the trick.


How to use spackling to fill bookcase holes:
The simpliest method is with your finger. I tried with tools, and ended up filling in the holes with my finger anyway. Just add a bit of spackle – I like this spackle that goes on purple and dries white – and use your finger to press into the hole and smooth it out.
Don’t worry about getting a little around the hole, you can use a damp paper towel or baby wipe to clean it up just before the spackle is dry.
The great thing about filling bookcase holes with spackle, is if you ever need to adjust shelves, just pick out the spackling and use the hole!
Since my bookcase is white, this is the only step needed. If I were painting the bookcase or if it were another color, of course, I’d need to paint over where I filled the holes.


Adding a New Top to Upcyle a Cheap Bookcase
To give a cohesive look to our upcycled bookcase, I wanted to add a wooden top.
This was probably one of the easiest parts of the entire DIY process (well, they were all pretty simple really), and yet it took us quite awhile because I couldn’t find a stain that I liked to go with the natural wood in the room.
Finally, we ended up using a clear sealant and we were ready to go!
To add the new bookcase top, we cut the wood to size and after staining (or in our case, adding the clear coat and allowing to dry), we attached with and added HEAVY books on top while we let it throughly dry.


Notice the essential oils on the shelf? Don’t miss these New KID SAFE Essential Oils for Kids!!!! We use them ALL THE TIME.
We are so thrilled with how this cheap bookcase upcyle turned out. It solved a problem for me… I didn’t have to pay exorbitant prices for a more stylish shelf, and now I have the statement piece in the room that I wanted.


Alice C says
This is awesome! I find this to be a great DIY. Not only it is a simple and cheap way of updating a bookshelf, but I love the mid-century look to it and can serve different purposes, not only for a kid’s bedroom, but I can see it being part of my office space. The natural wood gives the space a cozy and homie feeling to it, in my opinion. Thanks for sharing your ideas with others!